
Thanks to a very quick informal education by the wonderful (local-to-South Bend) Godfrey ladies in 2017 on how to use wax and beautiful dyes (sort of like batik) to color eggs in the traditional Ukranian fashion, we learned and bought at their Farmer’s Market booth the tools to create a traditional Ukranian Pysanky Easter Egg! Because of this much more fun method of coloring eggs in deeper colors and the layering of wax, creating these pysanky eggs has been our tradition over the past 3 Easters! Even though we’re out in Scottsdale, Phoenix with immediate family at the moment/ for Easter, we definitely didn’t let it stop us bringing a kistka tool and the black wax with us on the plane (and thankfully they didn’t take it out of Jenny’s bag because it looks like some sort of black tar heroin tools).
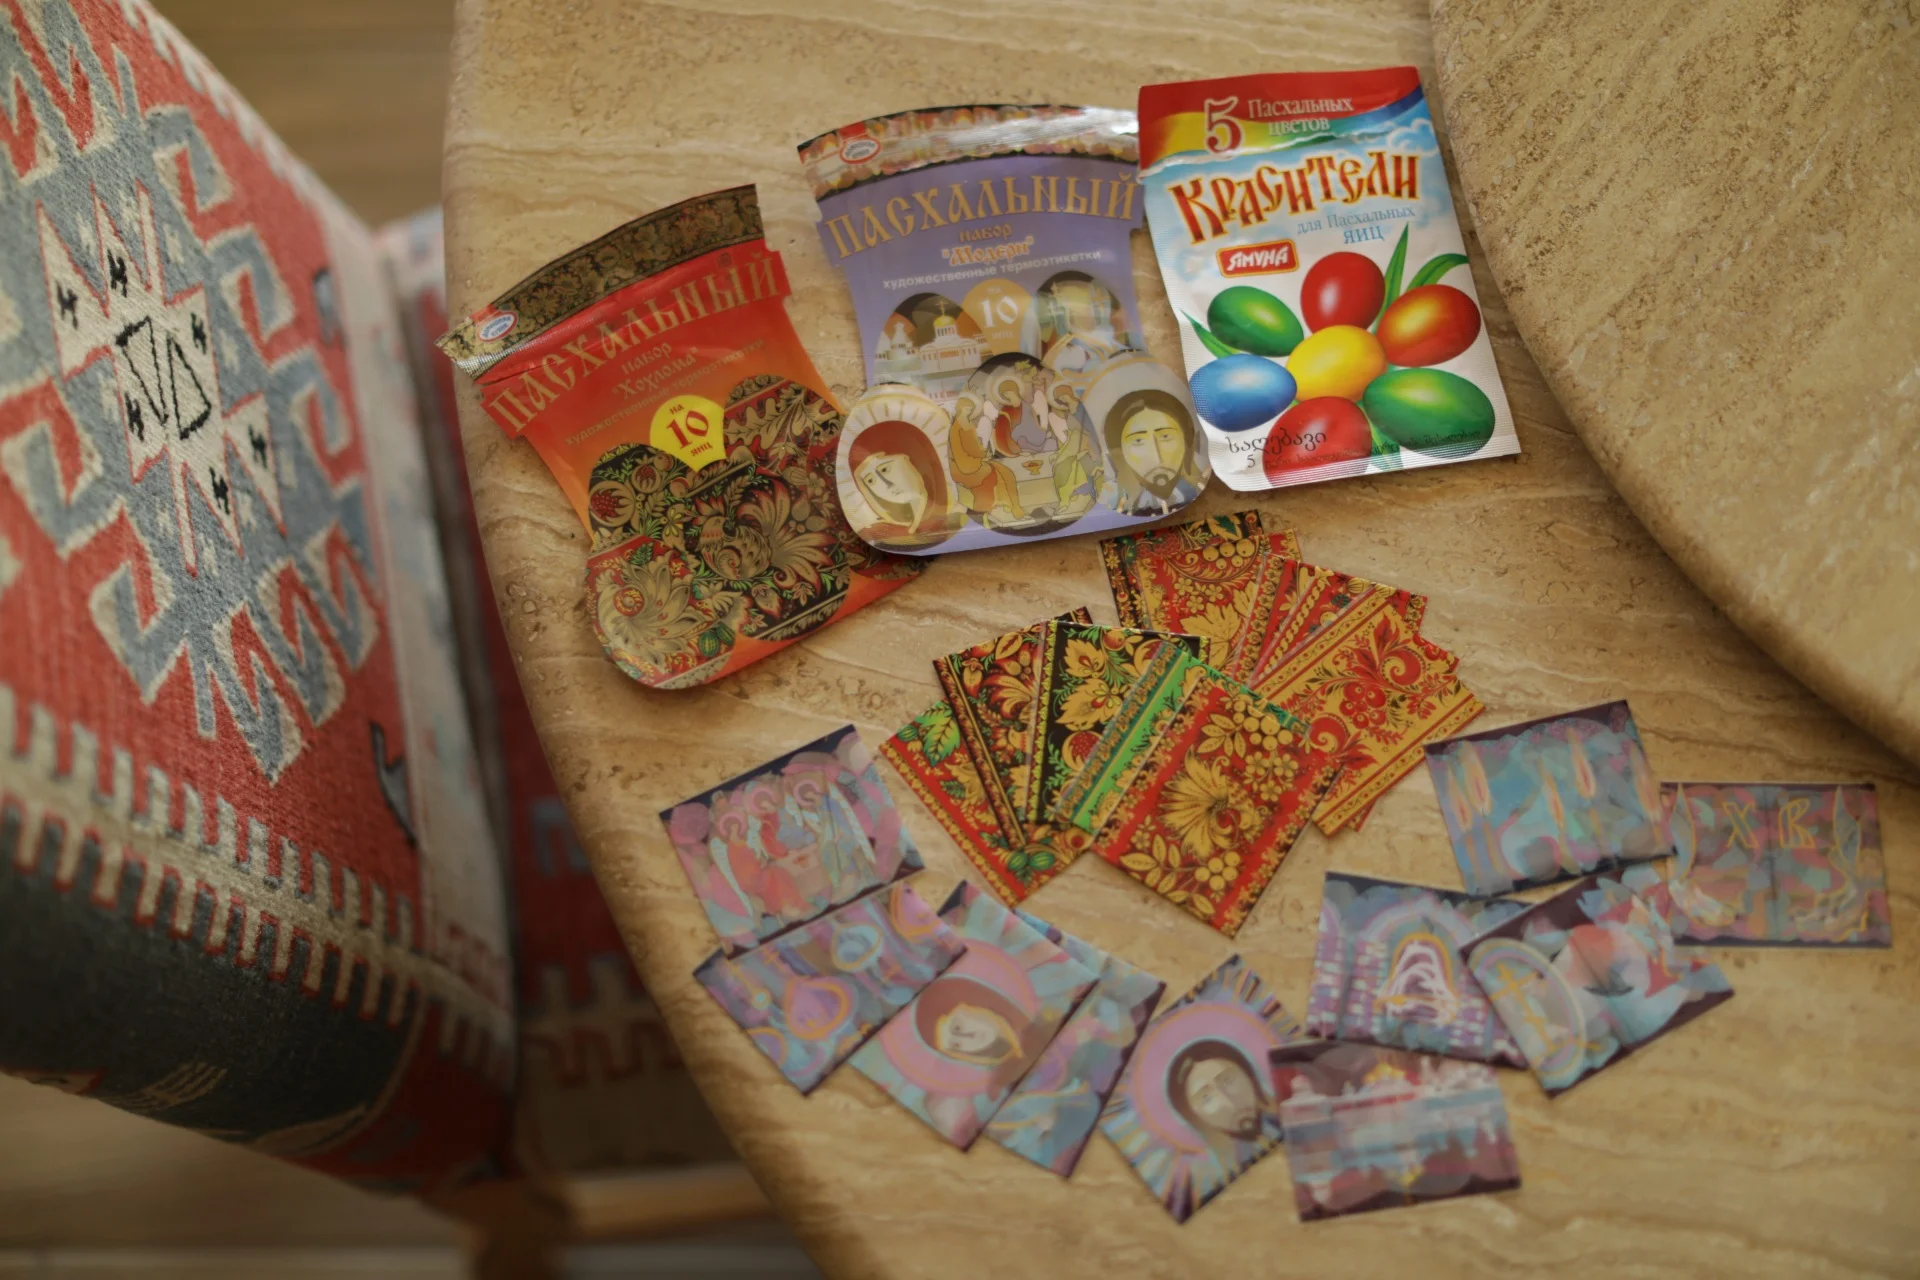
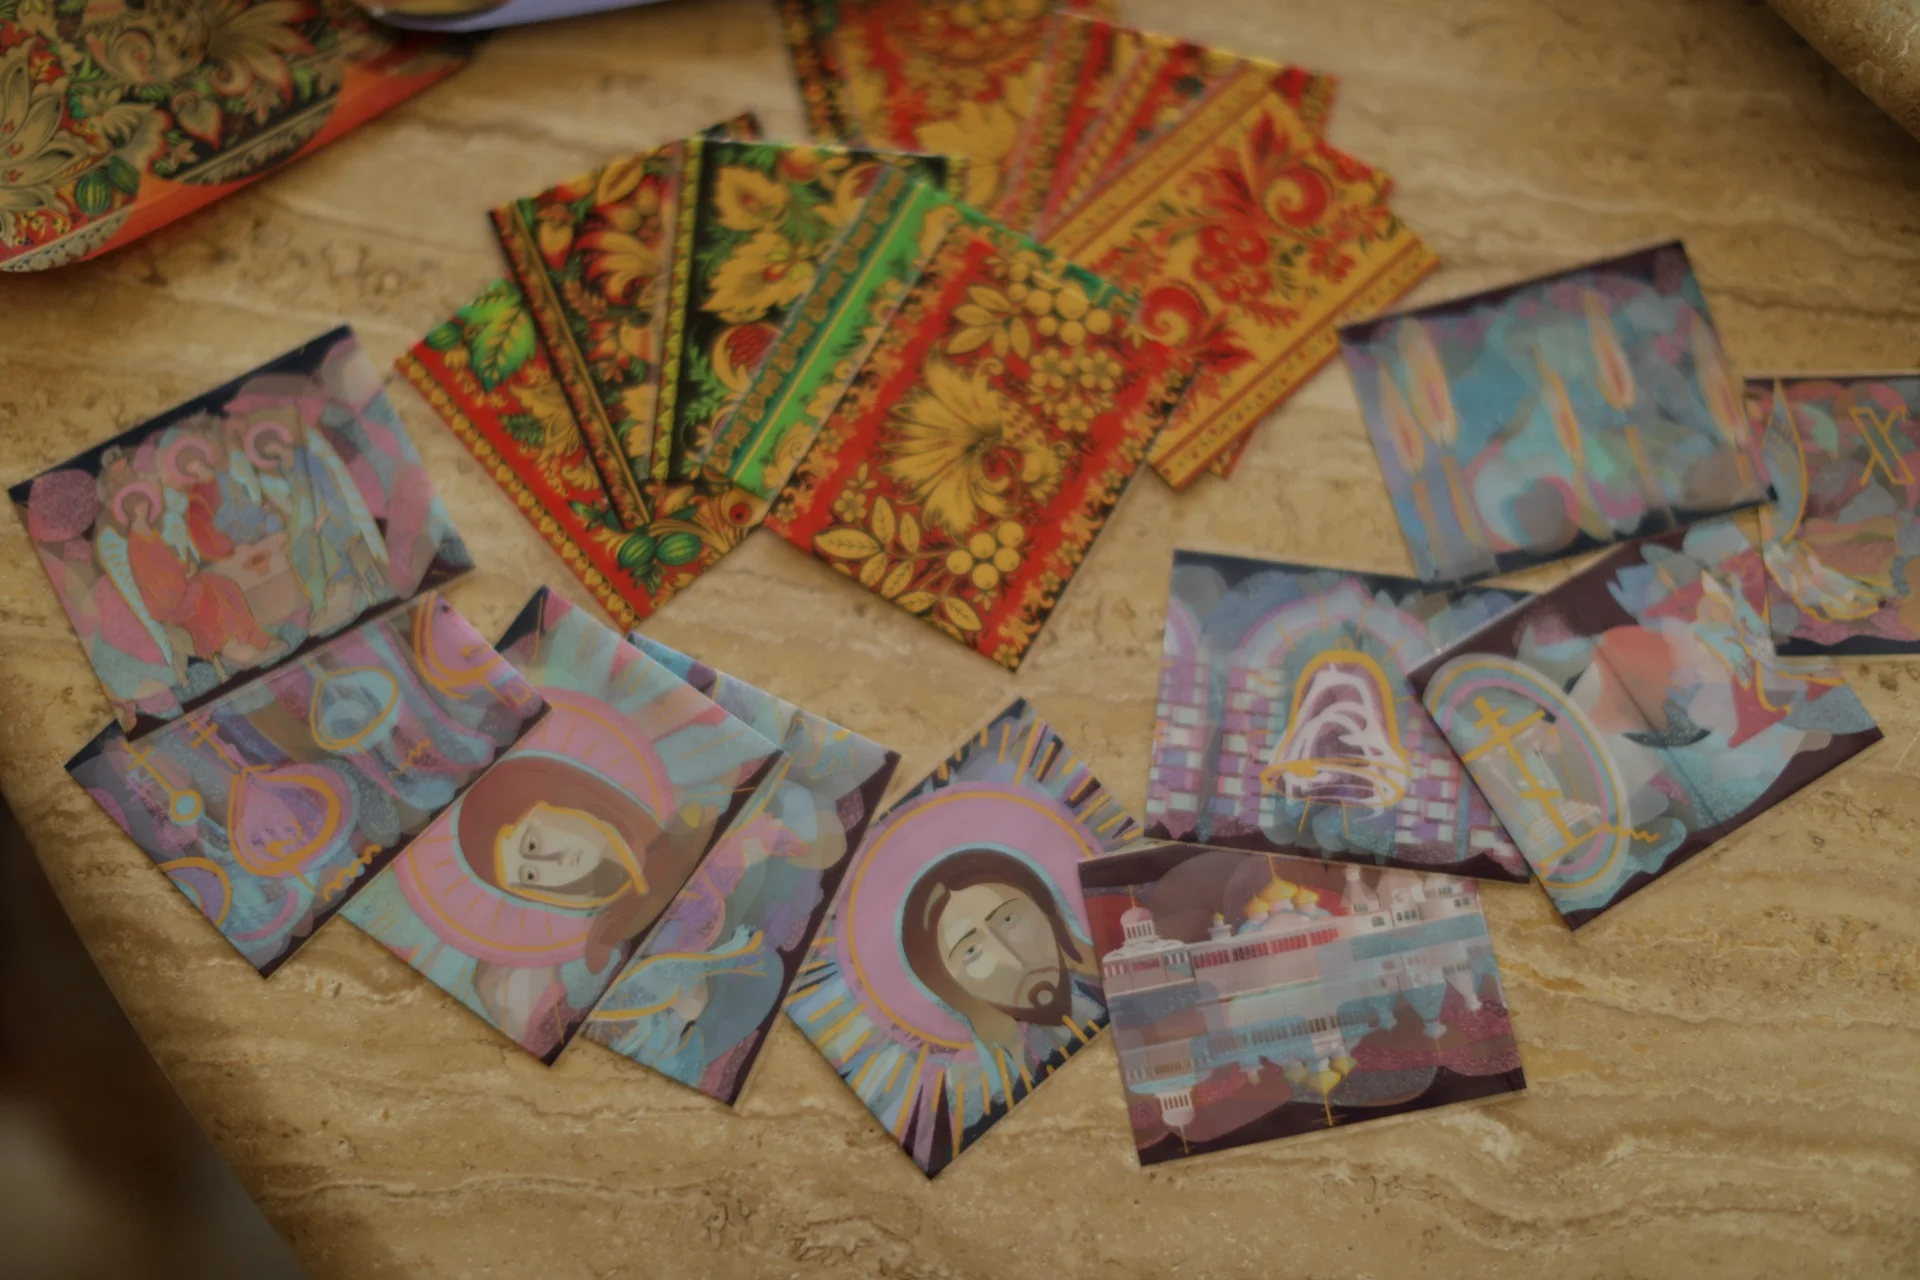
We forgot our powdered dyes in travel on Monday, so instead we got some primary colored egg dye at a Russian/ European grocery store in Phoenix, then some black, brown, and dark green fabric dye at Walmart in order to achieve some nice, dark pysanky eggs today. For reference, here are some photos from our first year of making traditional Ukranian pysanky back a couple years ago in 2017:
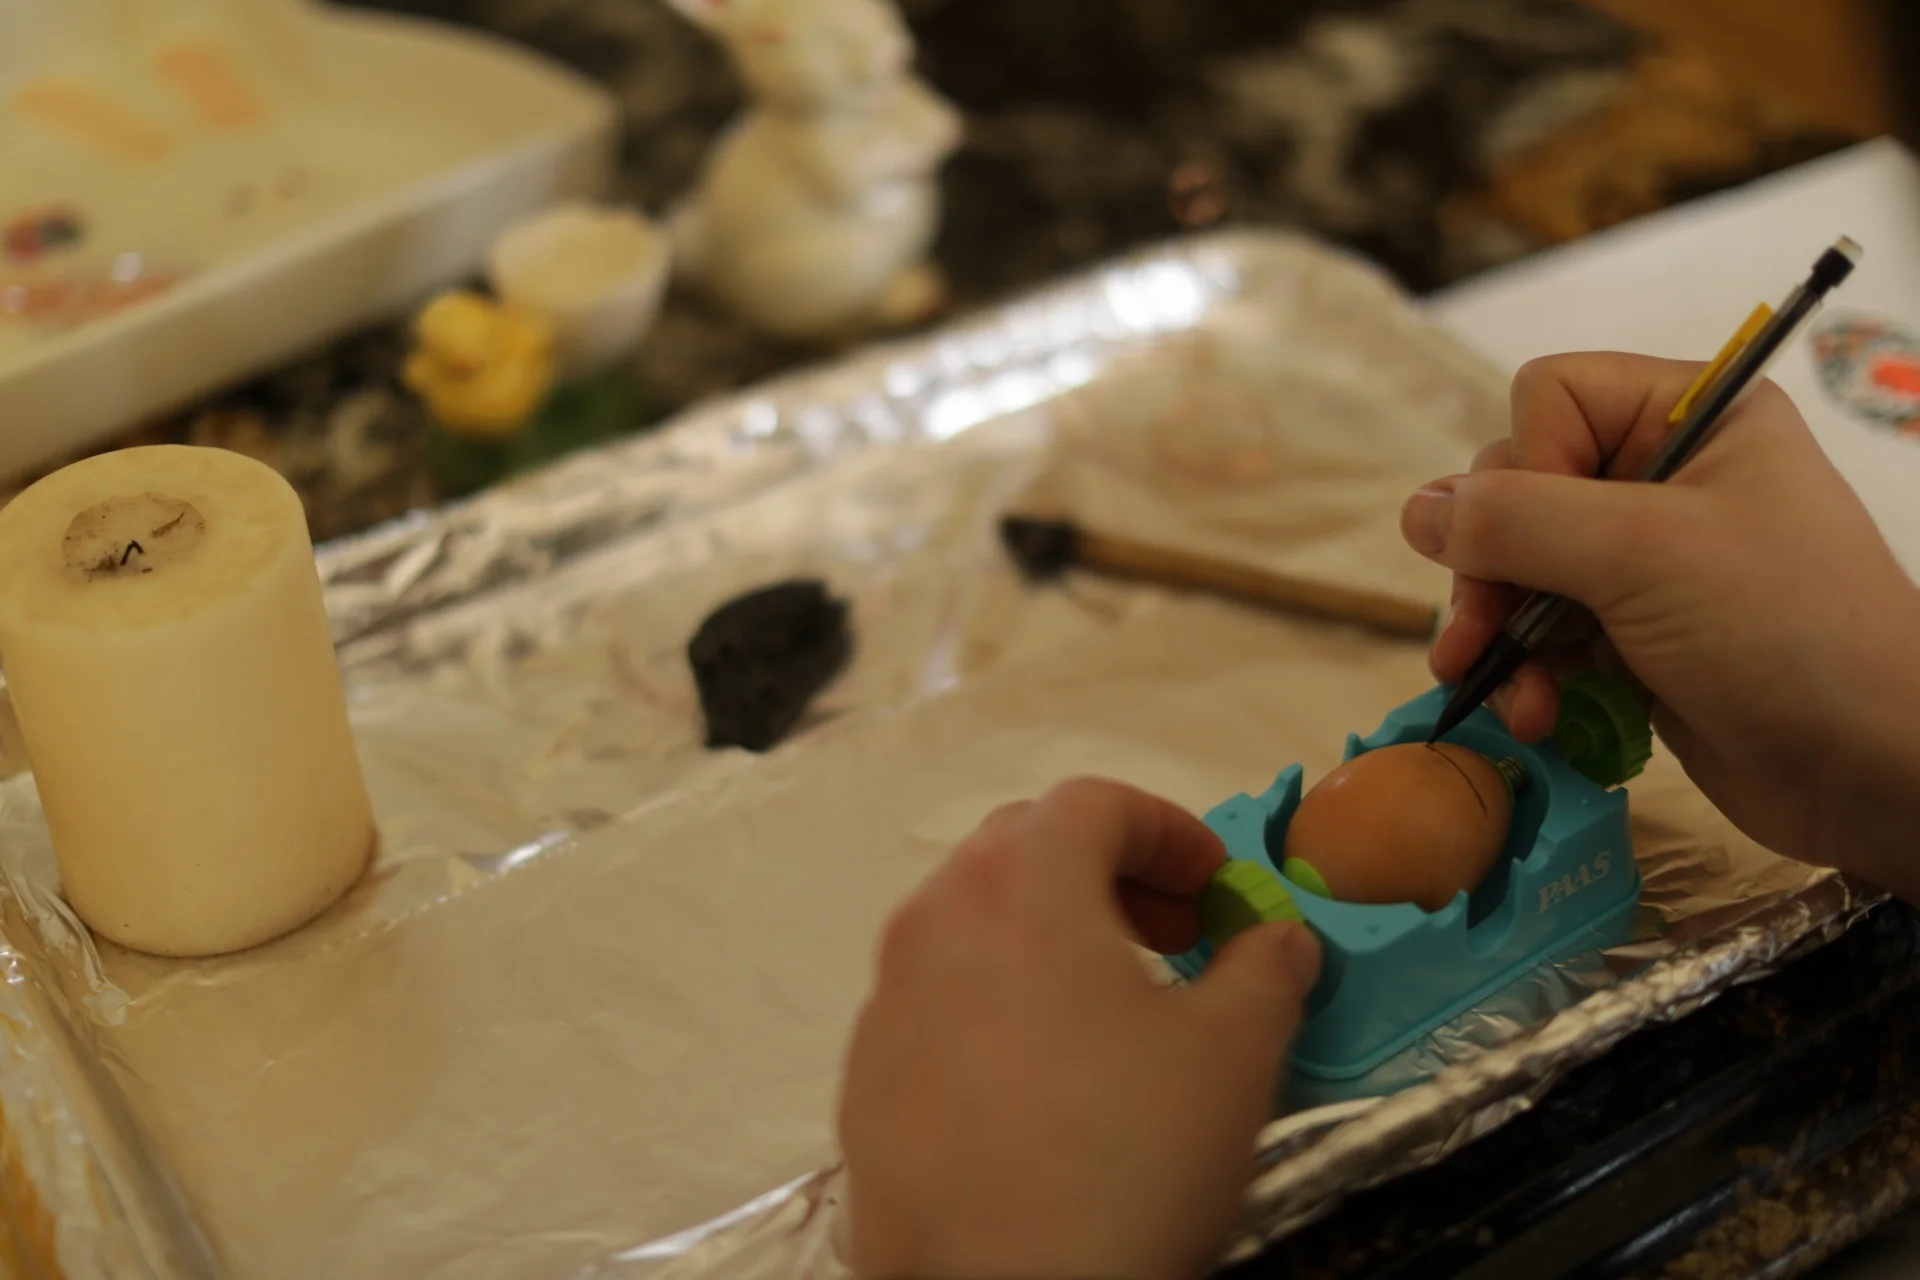
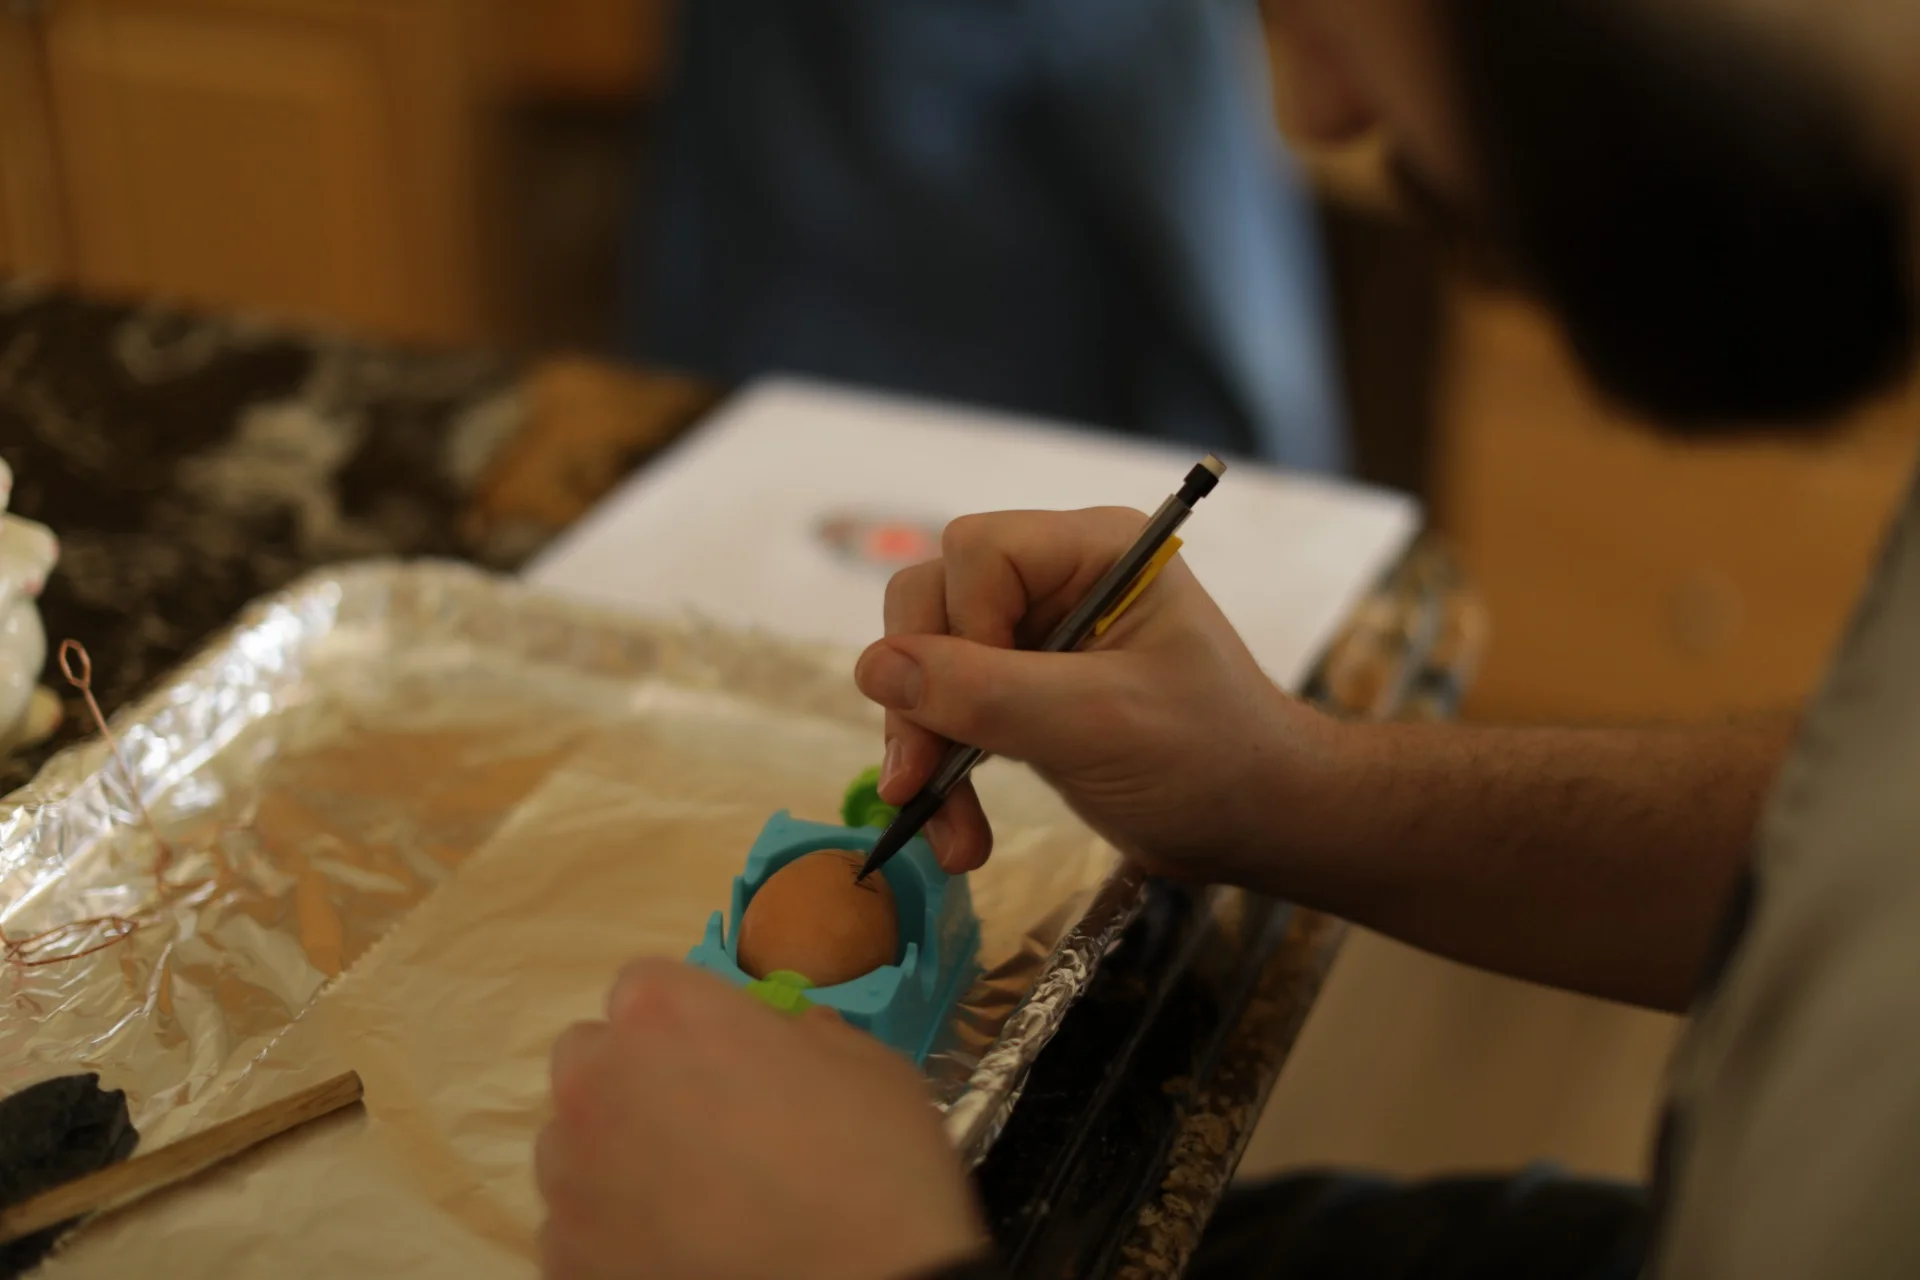
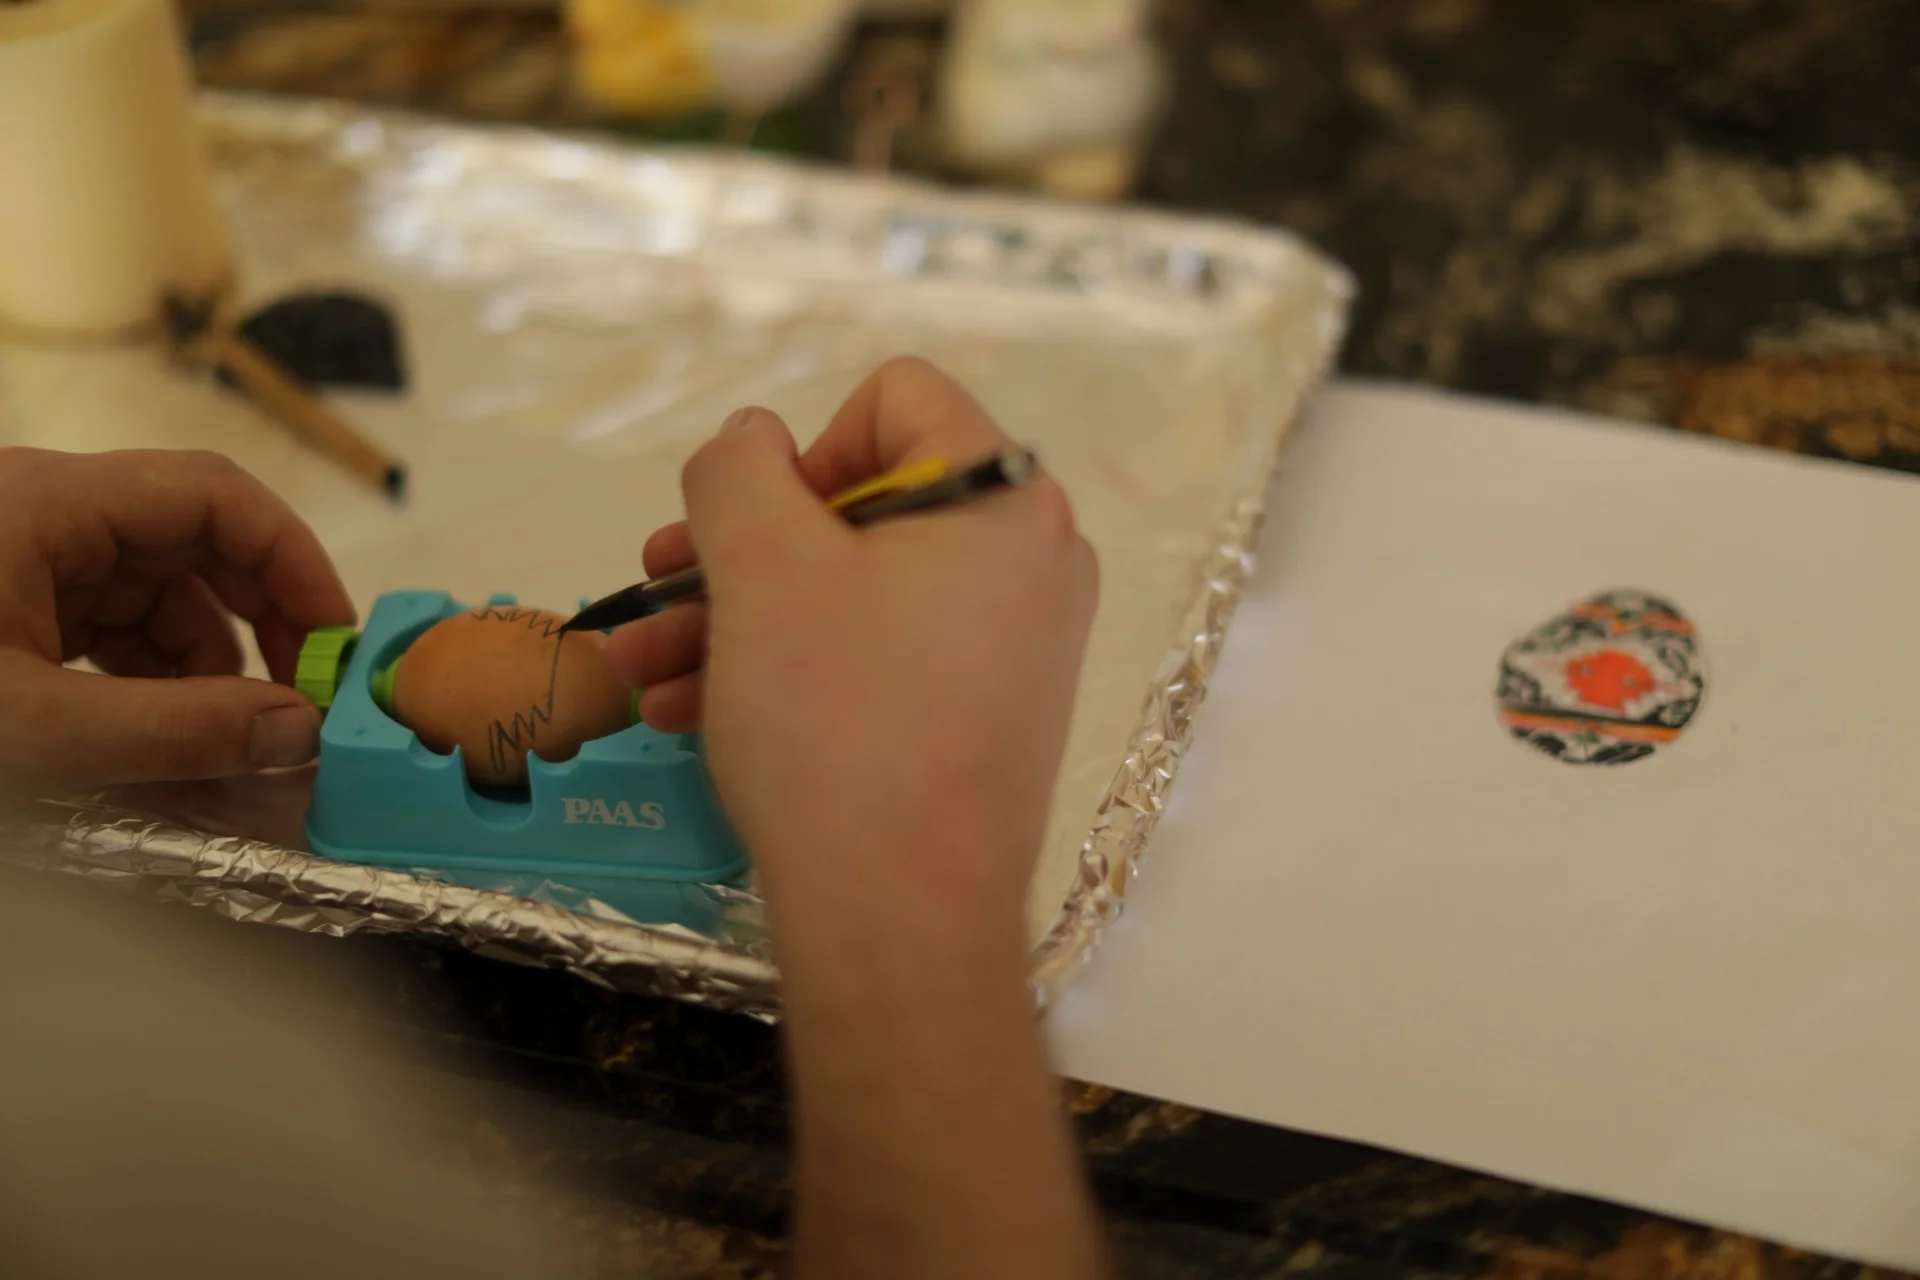
You’ll notice in the photo directly below that it looks like we were making drugs, but there is the half circle of black wax (which you draw designs on the egg with), the stick with a tiny metal funnel going through it (the kistka) that you draw with, our dyes in recycled glass jars, and a candle to liquify the wax in the kistka with! We also did it all on metal trays so that any melted dripping wax had something to fall onto.
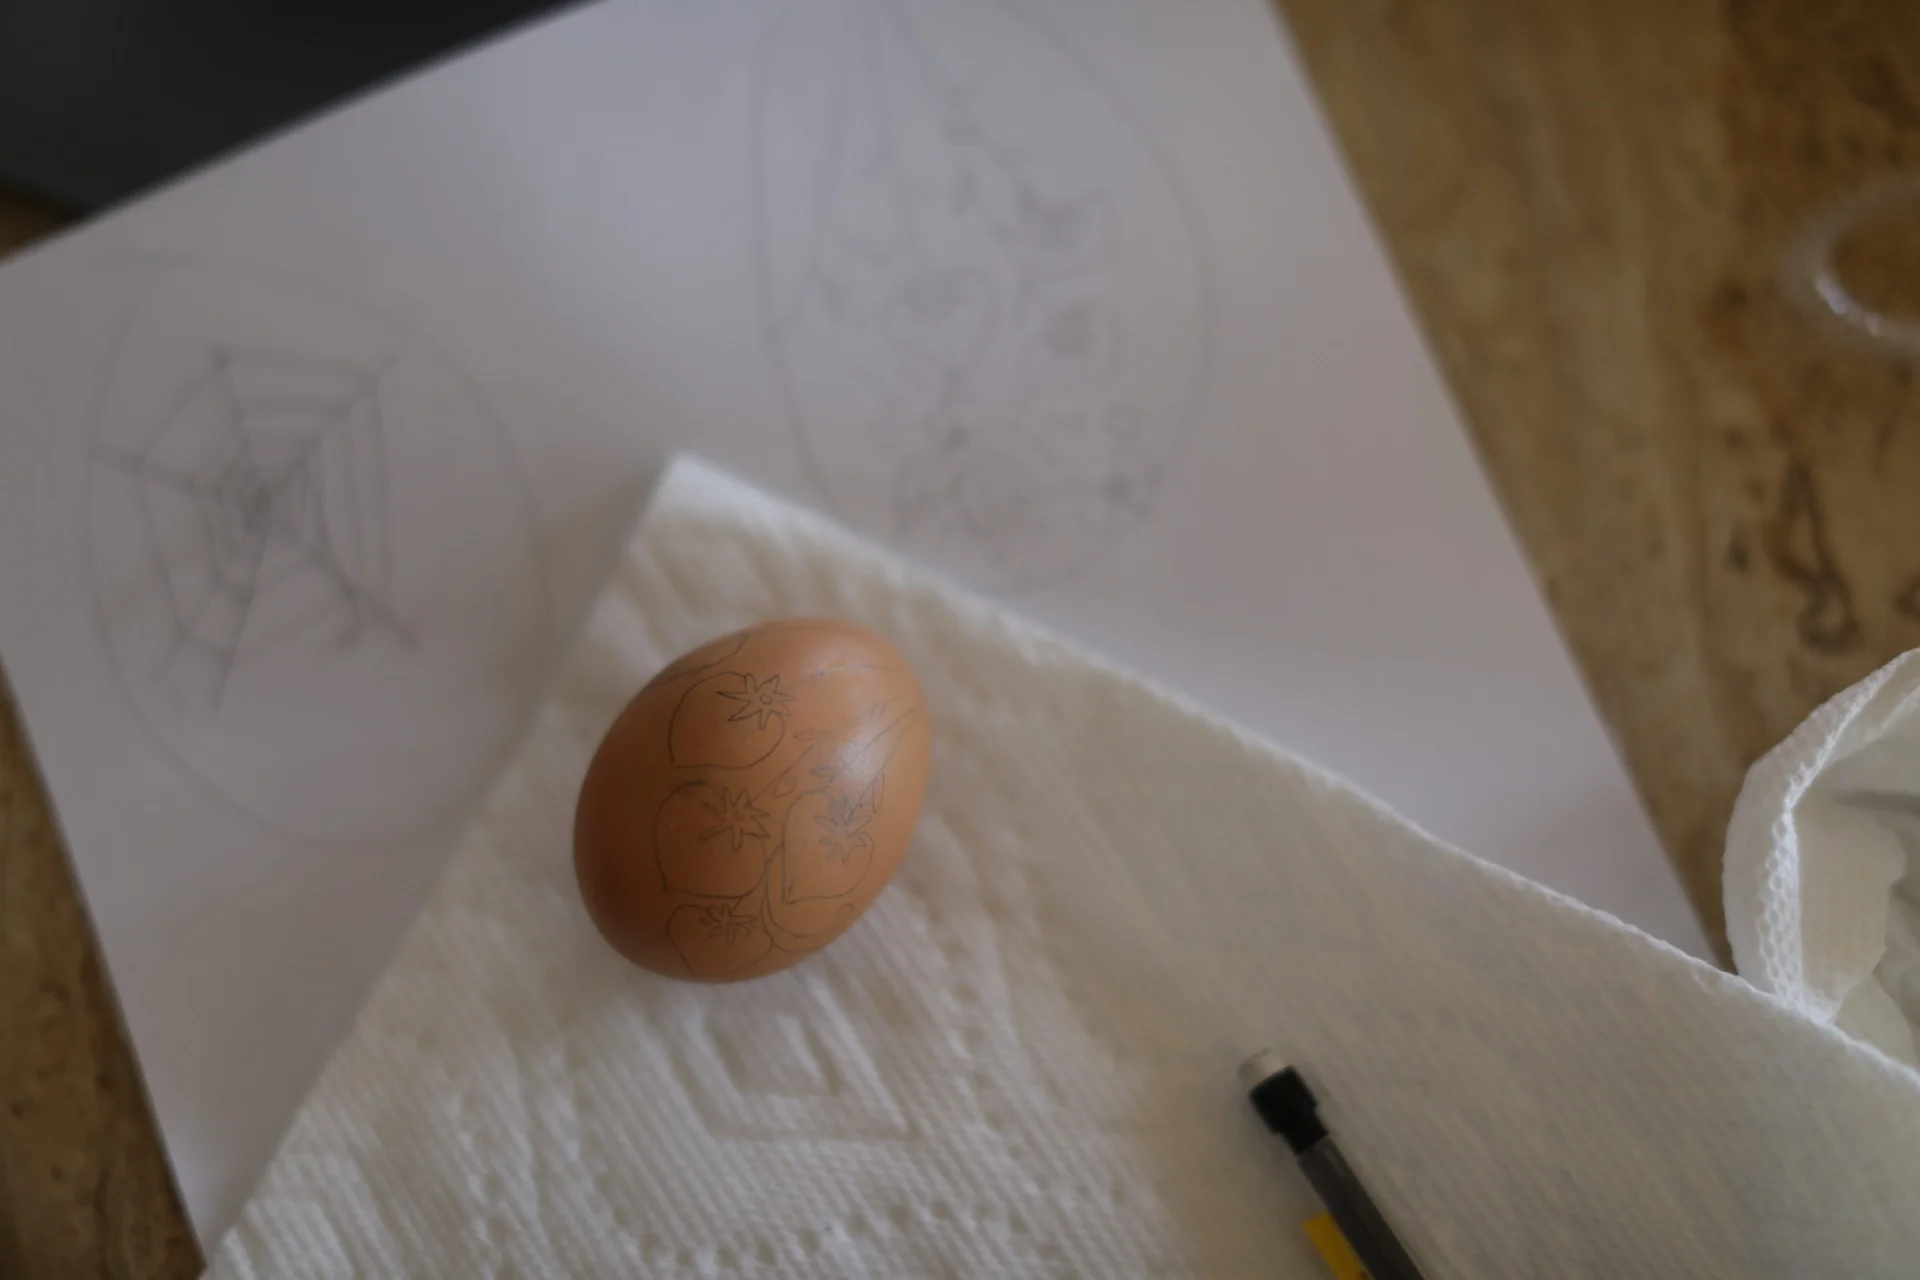
In the second photo you’ll see the progress photos of Jenny’s bee hive modern Ukranian Pysanka Easter Egg! Note the black wax build-up that covers colors that you want to stay until the end. You work your way with the wax covering the areas that you want to keep certain colors- whatever areas you want to stay the white or brown natural colors of the egg you wax draw on first, then you color the areas with the lightest color (often yellow), then cover those areas you want to stay yellow with wax, then dye the next darkest color, cover areas in wax to retain that color, and so on.
Below that in photo #3 are two of Jason’s first Ukranian Pysanky Eggs: The Face & design with green, navy blue, black, red, and the natural brown of the egg. You’ll also notice the other brown eggs in the photo with tiny holes poked into them. In 2017 we blew the eggs out of the shells first (stirring them up with a needle to make it easier for us to blow the eggs out of the two tiny holes at either end of the egg). By 2018 per the suggestion of another Ukranian friend we kept the eggs in the shell until we were done decorating them which made them much less terrifying (fragile) to handle! Both ways have their perks, though.


Last year in 2018 we didn’t have much time to dedicate to decorating Pysanky Ukranian eggs, but we did so anyway! Jason created two while Jenny created the one below which she was pretty pleased with. Her 2018 one below is of the traditional color palate and a more traditional pattern/ design: Dark black, a deep terracotta orange, and a maroon-ish red with horizontal and angled geometric patters throughout (and a natural element with the wheat). We don’t know where the photos of Jason’s 2018 eggs are, so… oops!

This year as we said we’re in Arizona (as our awesome petsitters/ homesitters Marie & Sarah again watch over our family), so we’re making our eggs in Jenny’s parents’ home and utilizing their baking trays to keep things clean (and got our dye cups from a St. Vincent de Paul Thrift store nearby in Phoenix, the primary color egg dyes at a European/ Russian grocery store, and the darker black, brown, and dark green dyes at Walmart in Phoenix since we forgot our powder pysanky dyes in Indiana). Without further adieu, our 2019 Ukranian Pysanky Easter Eggs!


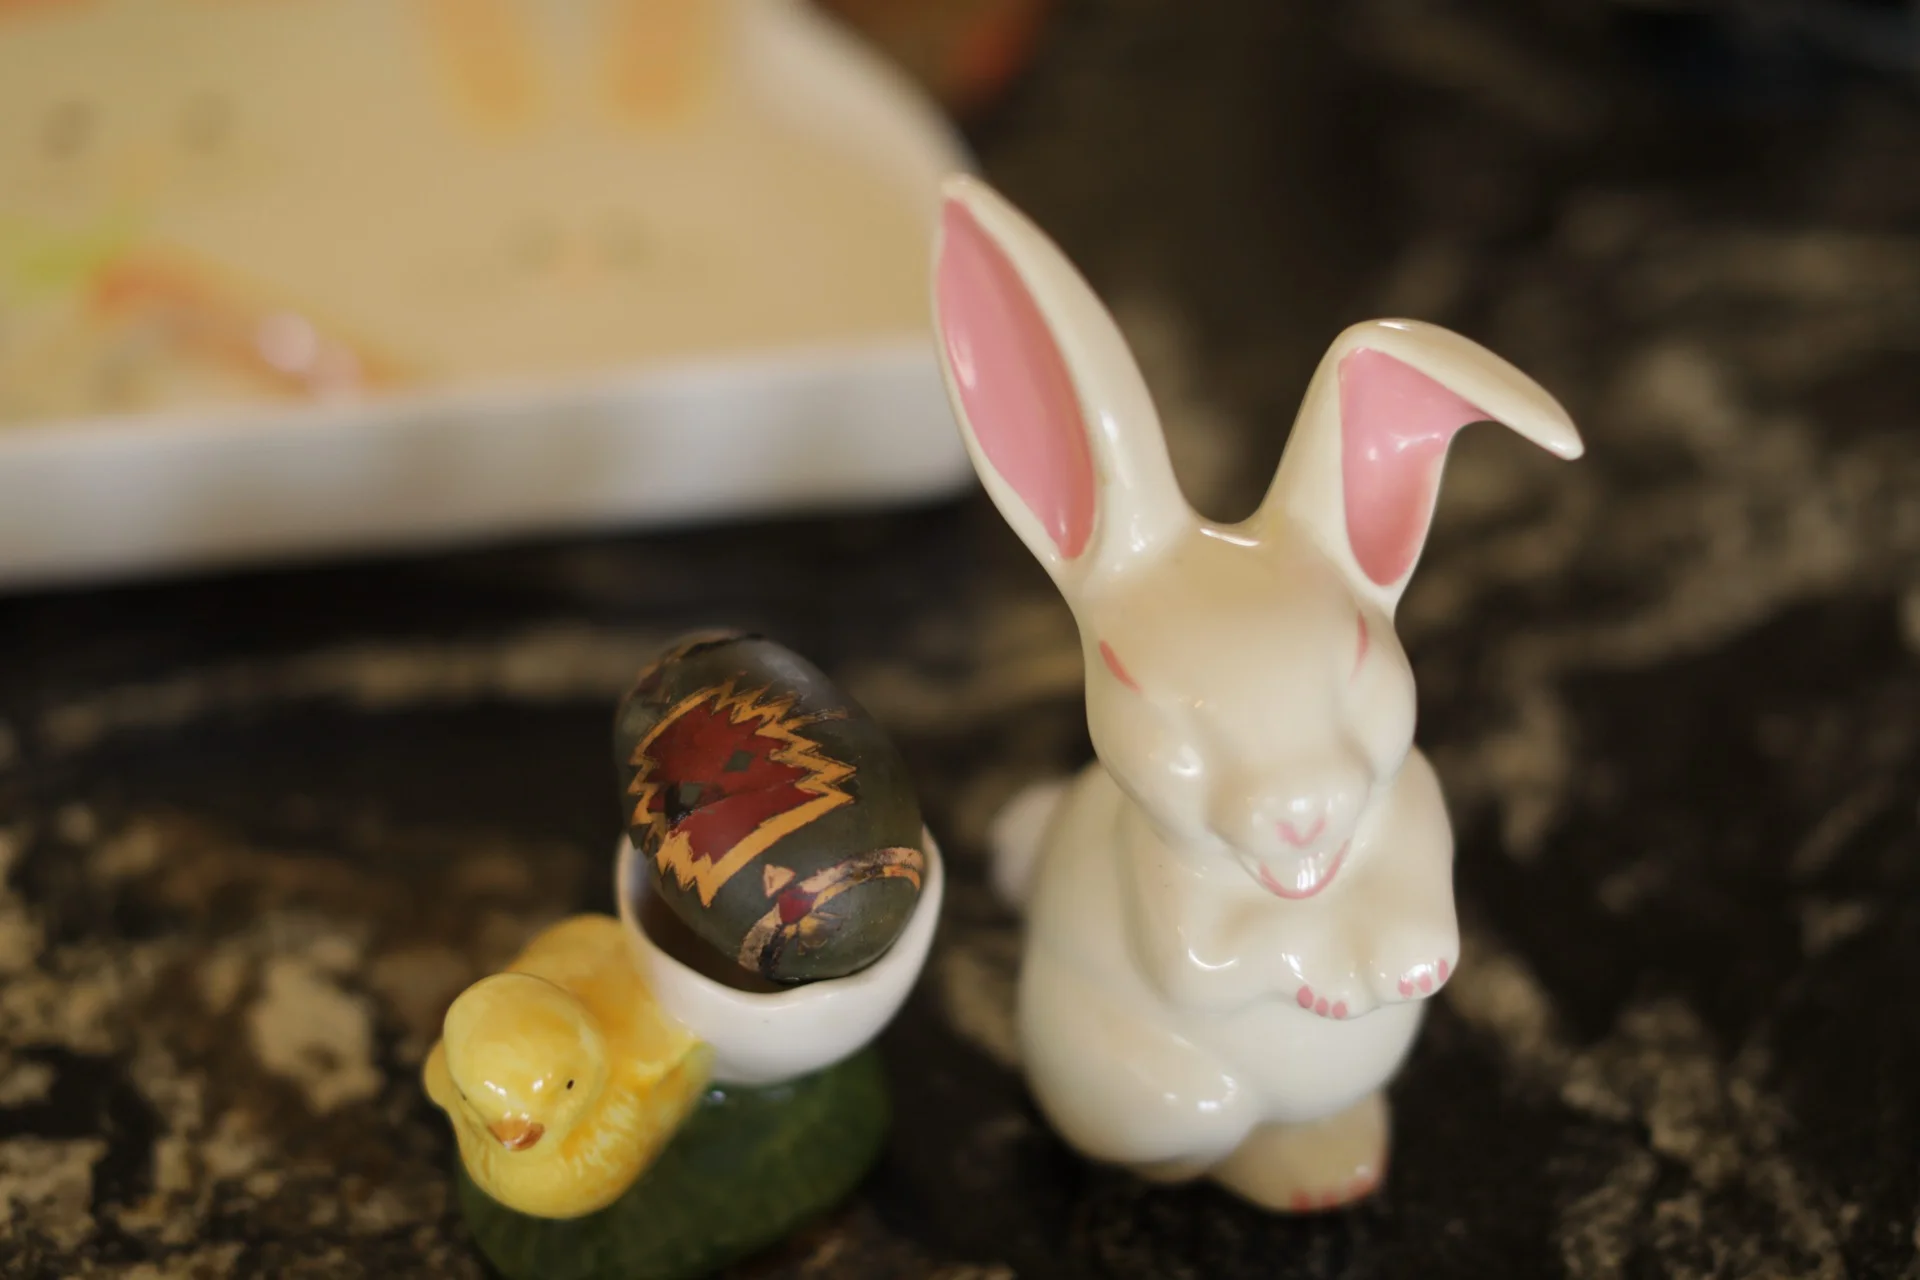
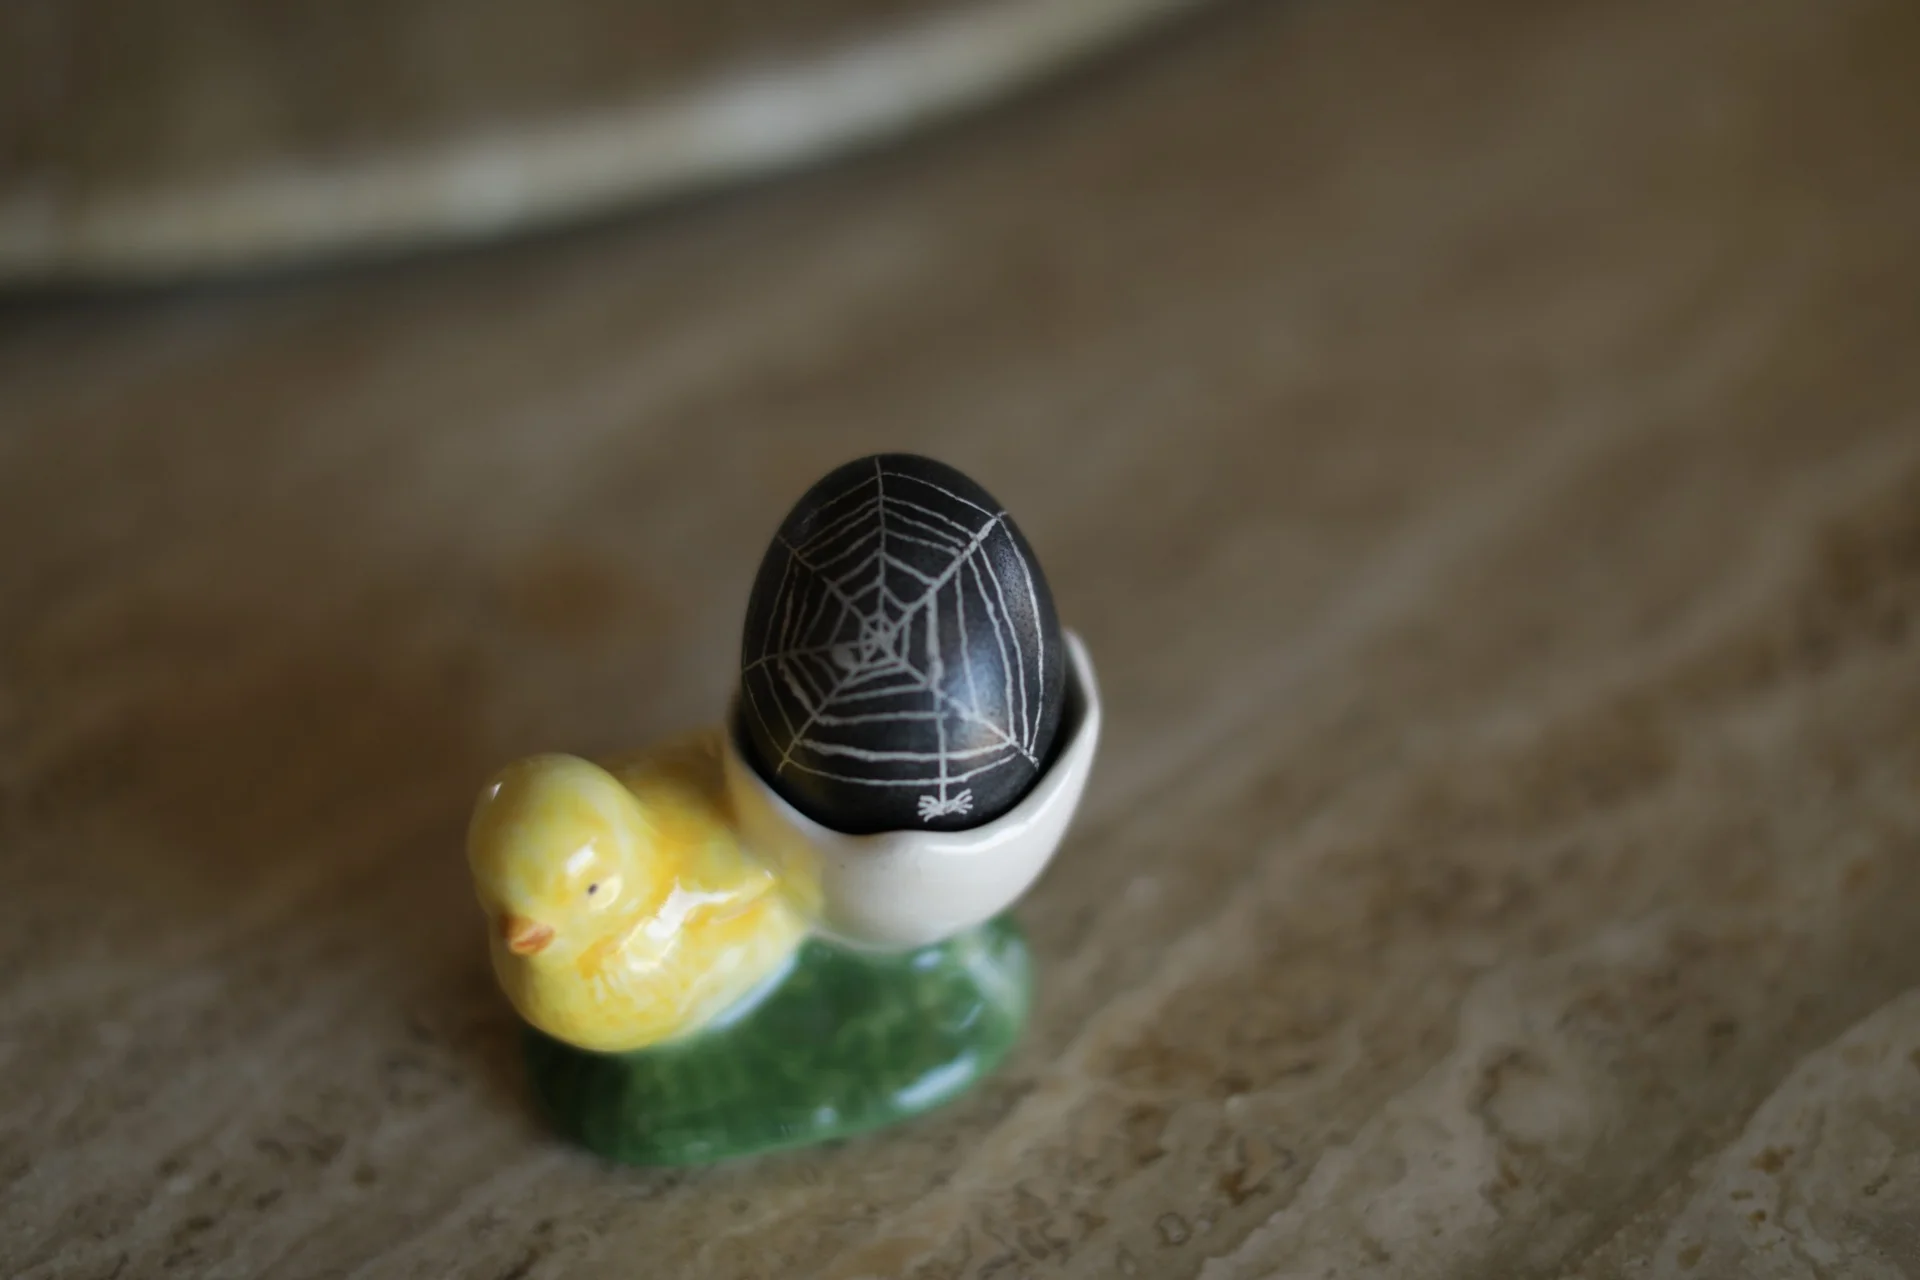
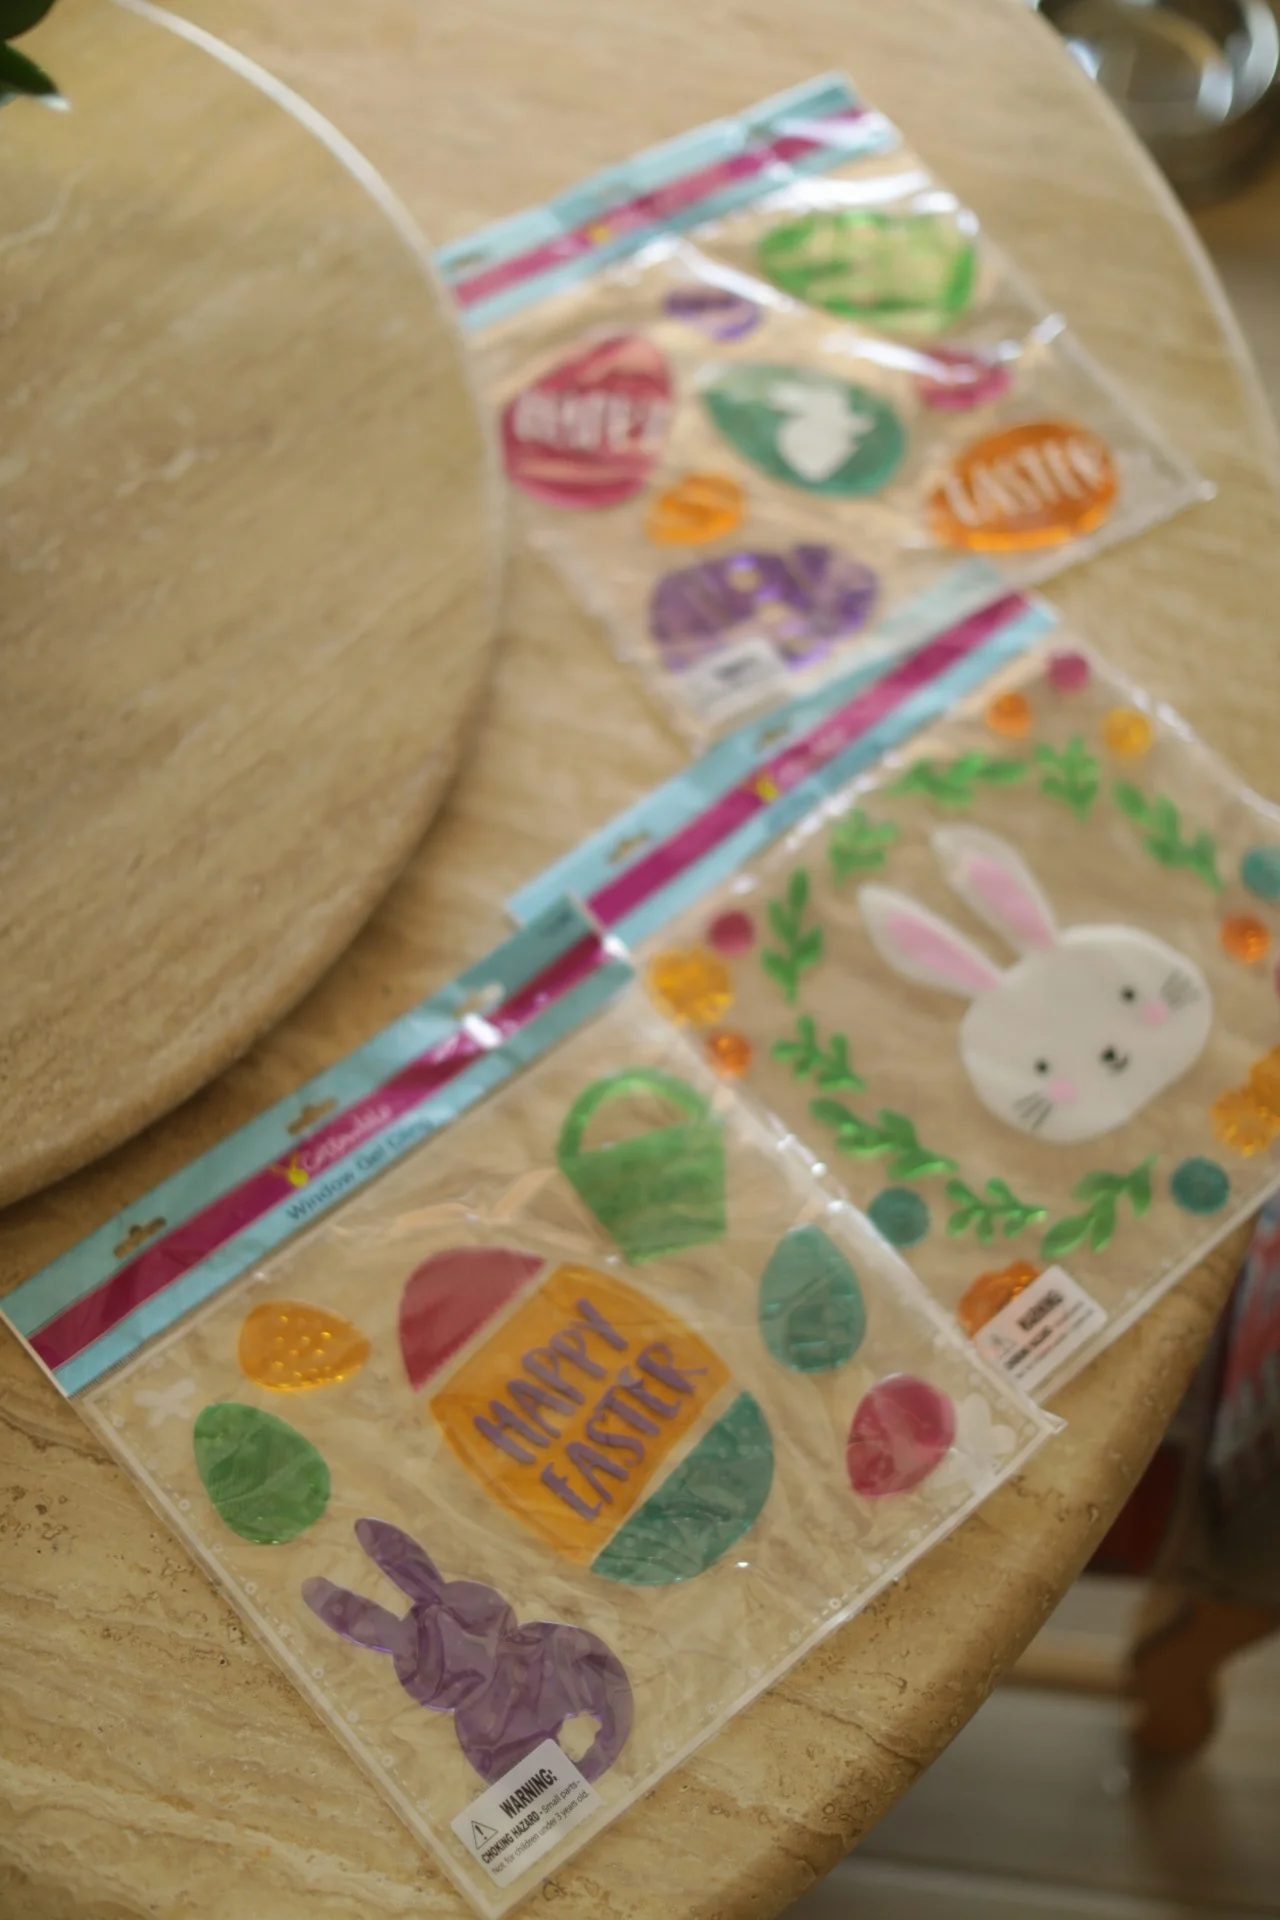
Jenny’s mom also asked us to grab some Easter decorations since she didn’t have much of anything decor-wise for the extended family Easter coming up on Sunday, so we picked up some antique pieces we found at a doll museum for a couple bucks (a rabbit cotton colder & an antique small chick egg holder) as well as some colorful $1 packs of jell Easter window clings & an awesomely huge $4 bunny rabbits platter for the huge Easter meal celebrations on Sunday!

We hope you enjoyed this week’s Easter blog post as we celebrate with our loved ones and we hope that you have a great weekend with your loved ones on Easter decorating eggs, eating candy, and enjoying a meal together. Next Weekly Wednesday blog post will be us sharing some beautiful images that we’ve taken out here this week in Scottsdale, Sedona, Flagstaff, and the Grand Canyon, so tune back in next week for a view into gorgeous Wild West Arizona destinations!